Installing Solar2D — macOS
This guide will help you get up and running with Solar2D for macOS.
Installing Solar2D
Before proceeding, ensure that your system meets the core requirements to install Solar2D.
We’ll assume you’ve already downloaded Solar2D. If not, please do so before continuing.
- Locate the application disk image, for example
Corona-2025.3721.dmg

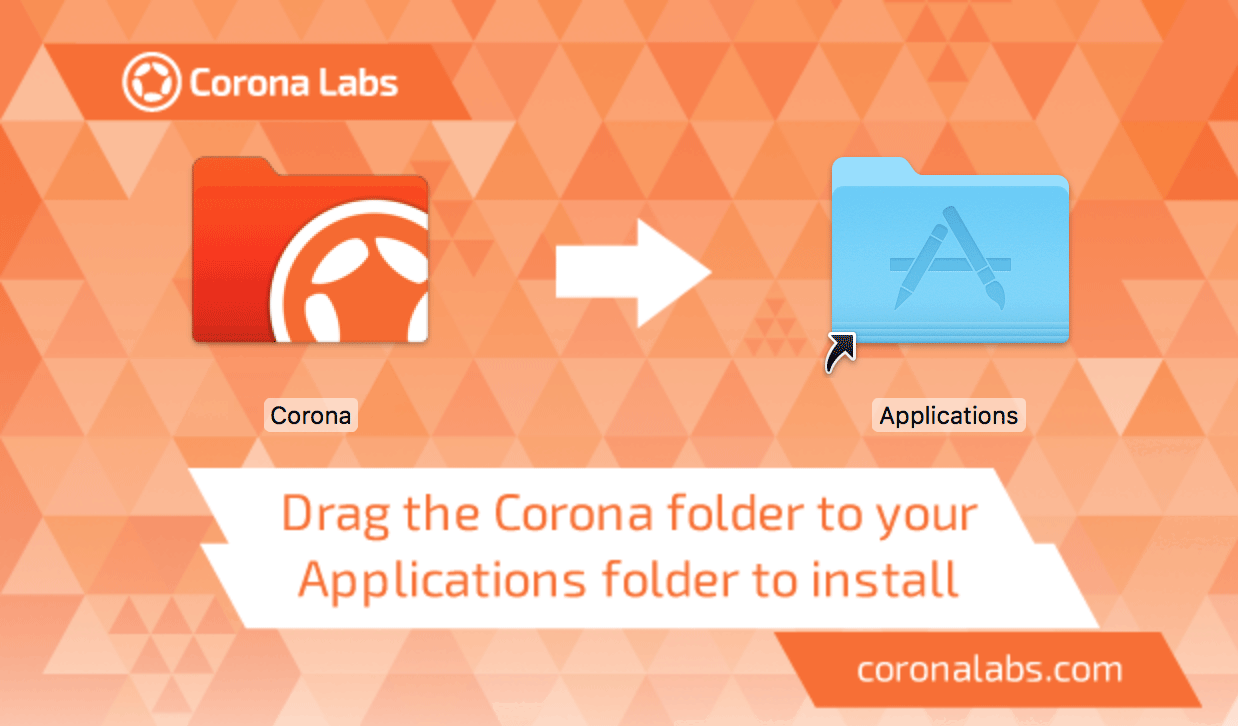
- Drag the Corona folder into the Applications folder alias. This will copy the contents of the folder into
/Applications.
You can use Solar2D without installing Apple’s Developer Kit or the Android SDK. Later, if you want to build and test your code on a iOS device, you will need to sign up as an Apple Developer and create the necessary certificates and provisioning profiles (guide).
Java Development Kit
Installing JDK is no longer required for Solar2D 2020.3629 and later.
Installing Solar2D lets you create and test apps locally on your Mac. If you intend to build apps for testing on Android devices, you will need to install the
- Go to JDK8 download page.
- Click the JDK download link to obtain the corresponding
Java Platform (JDK) . - On the next page, read the license agreement and click the option to accept it if you agree.
- Locate the
Mac OS X link and click it to download the file. This file will be named approximatelyjdk-8u261-macosx-x64.dmg - When the download is complete, open the
.dmgand run the installer.
Text Editors
You’ll need a text editor or IDE to write code for your Solar2D projects. If you don’t already have a favorite text editor, the following options are recommended:
| Editor | Add-On Package |
|---|---|
| Sublime Text | Solar2D Editor |
| Visual Studio Code | Solar2d-companion |
| Xcode | Xcode Editor |
| ZeroBrane Studio | |
| TextMate | |
| Vim |
Development Environment
The Solar2D development environment consists of two aspects: the
The Solar2D Simulator is a visual representation and test environment for your app. What you see in the Simulator is generally what your app will look like — and how it will function — when deployed to an actual device. The Solar2D Simulator is an essential tool because it allows you to view changes to your code instantly in an active, responsive environment that closely mimics the device.
The Solar2D Simulator Console is where you can view diagnostic messages about what’s happening in your program.
Simulator Options
The Solar2D Simulator for macOS features the following basic menu items:
The standard macOS application menu provides access to the Simulator Preferences. It also lets you manually open/run Corona Live Server for doing Live Builds on actual devices.
The File menu is where projects (applications) are created or opened. This is also where you build your apps for distribution or testing on devices.
The Hardware menu is used to simulate physical device actions such as rotating the screen.
The Window menu lets you open the Welcome Window which provides quick access to recent projects, Solar2D developer resources, and more. This menu also lets you access the Simulator Console (Console). Finally, this menu includes options to manipulate the Simulator window or change the skin
(Window → View As) .
Command Line Usage
To start a particular app in the Solar2D Simulator without double-clicking it, use a command like this:
"/Applications/Corona/Corona Simulator.app/Contents/MacOS/Corona Simulator" ~/CoronaApps/MyApp
If the specified directory doesn’t contain a main.lua file, an error is displayed. Optionally -project can be specified (note that this suppresses any error messages if the directory is invalid).
If you don’t want the Simulator Console window to automatically appear use the -no-console option:
"/Applications/Corona/Corona Simulator.app/Contents/MacOS/Corona Simulator" -no-console YES
Output from the Simulator will appear on standard output.
If you never want the Simulator to automatically start a console window, but for some reason cannot use the command line, you can run the following command in a Terminal window:
defaults write com.coronalabs.Corona_Simulator no-console -bool yes
Use this command to turn the Simulator Console back on again:
defaults delete com.coronalabs.Corona_Simulator no-console
One additional flag is allowed -debug YES which allows an IDE to connect a debugger to the Simulator session. Specify it before the directory/file argument.
Getting Started
If you’re new to Solar2D, the most fun way to learn is to create a simple game. Don’t worry if you’ve never created a mobile app or programmed before — the chapters in the guide will walk you through the entire process from start to finish!